Tuesday, July 6, 2010

New paint colors!

Nothing super drastic tho! A lot of expert painters (AKA friends and family who've done more painting than me, hence they are experts!) have been recommending Benjamin Moore paints so today I went to our local retailer and picked up the following:

For the kitchen:

For the fireplace wall in the living room, which also leads into our dining/kitchen area. We'll also use this color for our guest bedroom

For the rest of the living room/hallway/foyer


My dad and Brandon worked on priming everything today and painting will start tomorrow! Can't wait to see more transformation!

Friday, July 2, 2010

I've been a very bad blogger!

I have been neglecting my blogging duties lately and I apologize! We're still settling into the house, unpacking boxes and adjusting to our new living quarters.

We've also been making plans to add some new additions to our family - kittens!

A recent visit to our local animal shelter brought us face to face with these 2 cuties:


They are 8 week old sisters and lovey-dovey to boot! We're filling out paperwork to adopt them this weekend but won't bring them home for a few weeks because we'll be away on vacation (a much needed vacation!)

I should have more house updates in the next few weeks too!

Wednesday, June 23, 2010

All moved in!

Well, for the most part..still have a few things left to grab from the apartment...

The downstairs is looking like a brand new house (now that we have our fresh new rugs installed!!!) and we are loving it:


My office/music room


Found some great white accessories to "jazz" everything up :)


Stay tuned for more updates next week: finished fireplace and master bedroom!


Friday, June 11, 2010

Colors!

All of our paint colors are Valspar:

For the wall w/ the fireplace in the living room

(Vanilla Steam) For the other walls in the LR, plus the hallway


The blues are for the kitchen (Sonic Sky-lighter for the walls/Billow-darker for the backsplash)
Bottom right is Paris Mint (looks better in person) for our bedroom
The white is Woodlawn Dewkist which will be for the trim/fireplace/bathroom


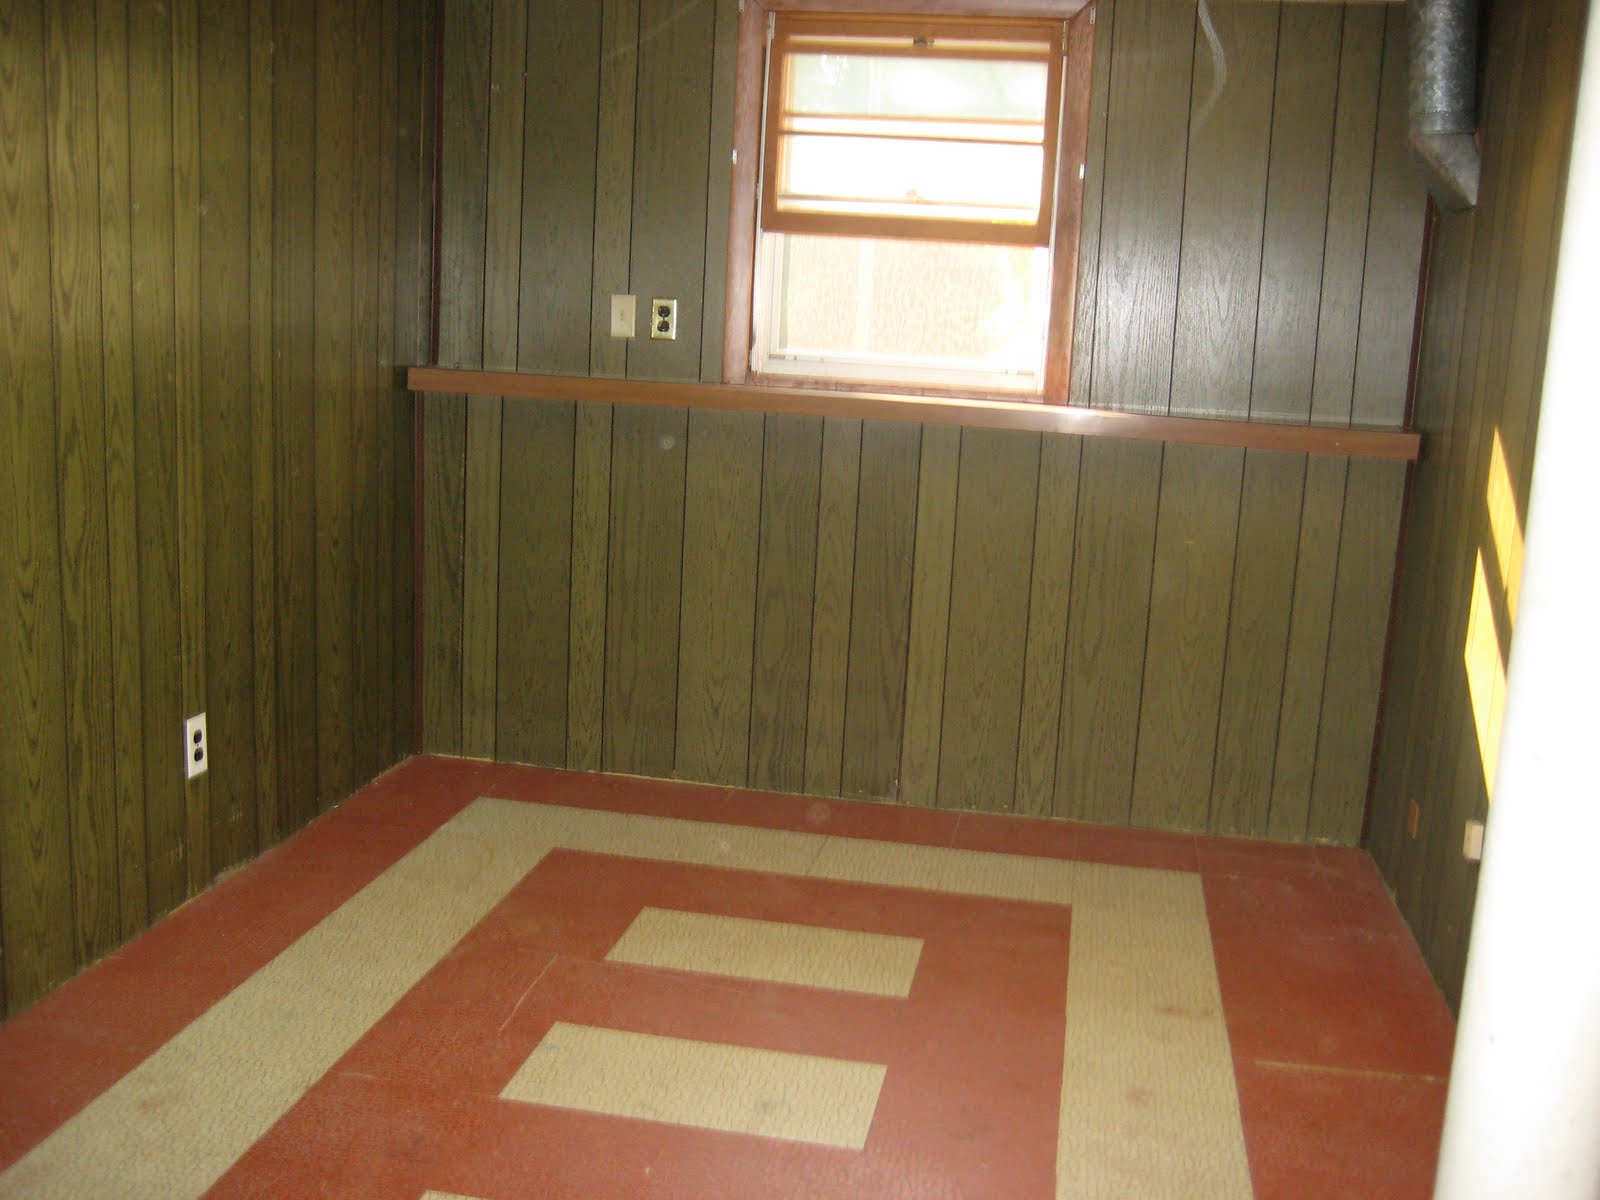
Voyage (for the basement family room and upstairs office)

Tuesday, June 8, 2010

More progress!

Another weekend of hard work!

(I included the "befores" so you can see the transformation process)


(Brandon worked on removing the gross paint above the black ledge, but most of it didn't want to budge, so he sanded the rest so we can prime over it and then paint)


The wood ledge will eventually be primed and painted as well


All that's left is the very bottom!

We removed the wallpaper behind the fridge and some more adhesive/wallpaper one one of the kitchen walls, but it's not all that exciting to look at..later this week we'll be painting in the rooms that were primed over the weekend so our new carpet can be installed shortly after that!

Monday, May 31, 2010

Sweat equity is a beautiful thing

We spent several hours this weekend doing some major overhaul and I think the results are pretty amazing!


Before:

After: (we removed all the wallpaper/adhesive in the living room/hallway/foyer too)


Before:


After:


Before:


After:


Before:


After a coat of primer (still need to finish the hearth/some groutwork)


Next weekend we'll finish priming the fireplace and then paint it and hopefully start priming/painting the basement so we can then get new carpet installed!

Thursday, May 20, 2010

Befores & Afters..the beginning!

Today my Mom and I headed down to the house to get a jump start on a few projects. It's amazing how much you can get done in a few hours when you're motivated!!

First, we took down the ugly valences in the sunroom - what a difference!


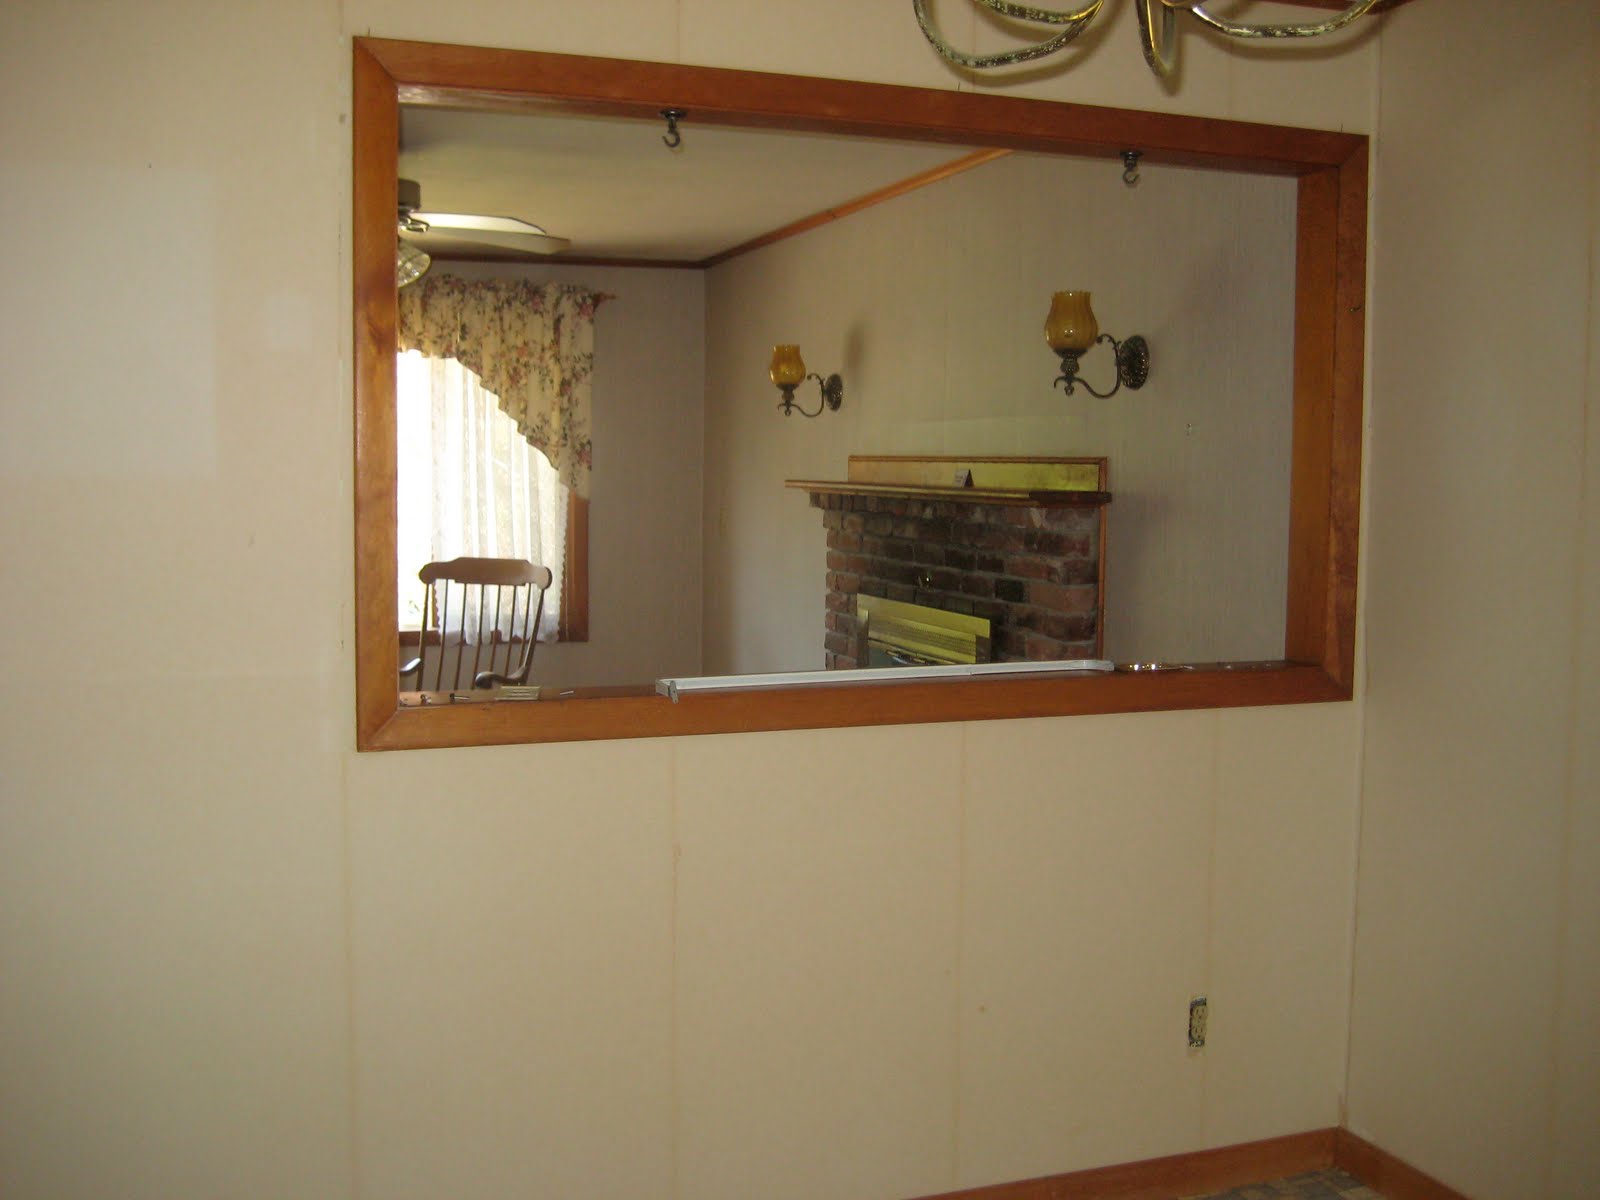
Then it was time to tackle The Great Wall...of paper that is! The bathroom, kitchen and living room/hallway/foyer are all covered in wallpaper and while that look might work for some people, it's not our "thing!"

Here are a few befores:


A closeup of the hideous stuff!

Little did we know that there was a 2nd layer of wallpaper underneath the first!!

Thankfully it just peeled right off, but we still need to use a scoring tool and some wallpaper liquid remover to take off the adhesive - but that is a project for another day!


Here's my wonderful mother hard at work!

And now, some more afters!


We figured while we were on a roll, we might as well see what the bathroom wallpaper was like. Not quite as easy to tear off as the kitchen stuff, but at least it was a much smaller room!

Here's a before: (with the previous owners stuff)

Close up:

Afters: (again, we will need to use a scoring tool/spray with liquid remover to get the adhesive off - thankfully there was NOT a second layer of wallpaper in here!)


We still have half a wall to do - our stomachs started growling so we needed to quit for the day!

Check back for more updates in a week or so!!